There’s an easier way to image your SD card! Check out the “Getting Started” guide for a cross-platform guide.
-
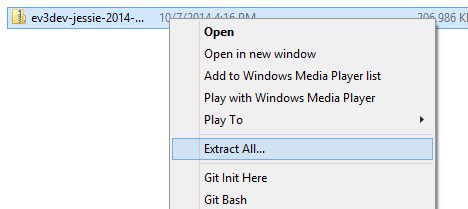
Make sure you have downloaded an ev3dev image file from GitHub and open the folder to which you saved it.
-
Right-click it, click “Extract All”, and choose a location to extract the image to.
-
If you haven’t already, download and run the latest installer for Win32 Disk Imager from here and wait for it to finish installing.
-
Make sure that your SD card is plugged in to the computer now. It will only recognize drives that are plugged in before you start the imaging program.
-
Start the application that was just installed, and select the
.imgfile that we extracted earlier. Make sure to select your SD card’s drive letter from the list, and verify that it is the correct device.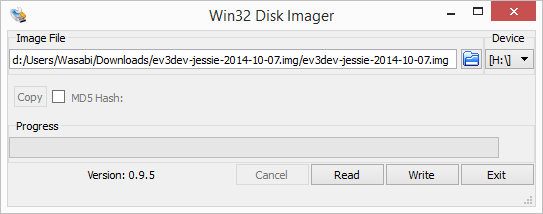
-
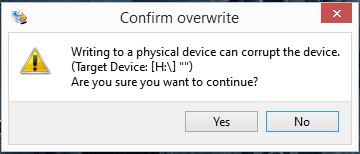
Click the “Write” button. This is your last chance to stop the process; after you write the image, ALL data stored on your SD card will be lost. If you are sure that you would like to continue, accept the warning to start the installation.
-
This may take a few minutes, so be patient while it finishes. Once it’s done, you can eject the SD card from the system tray and unplug it from the computer.
