Step 2: Flash the SD card
This will erase everything on your SD card! Back up your files if you do not want to lose them!
Now it’s time to write the image to the card.
-
Download and install Etcher v17
Newer versions are broken and don’t work with the ev3dev image!
-
Launch Etcher after it has finished installing.
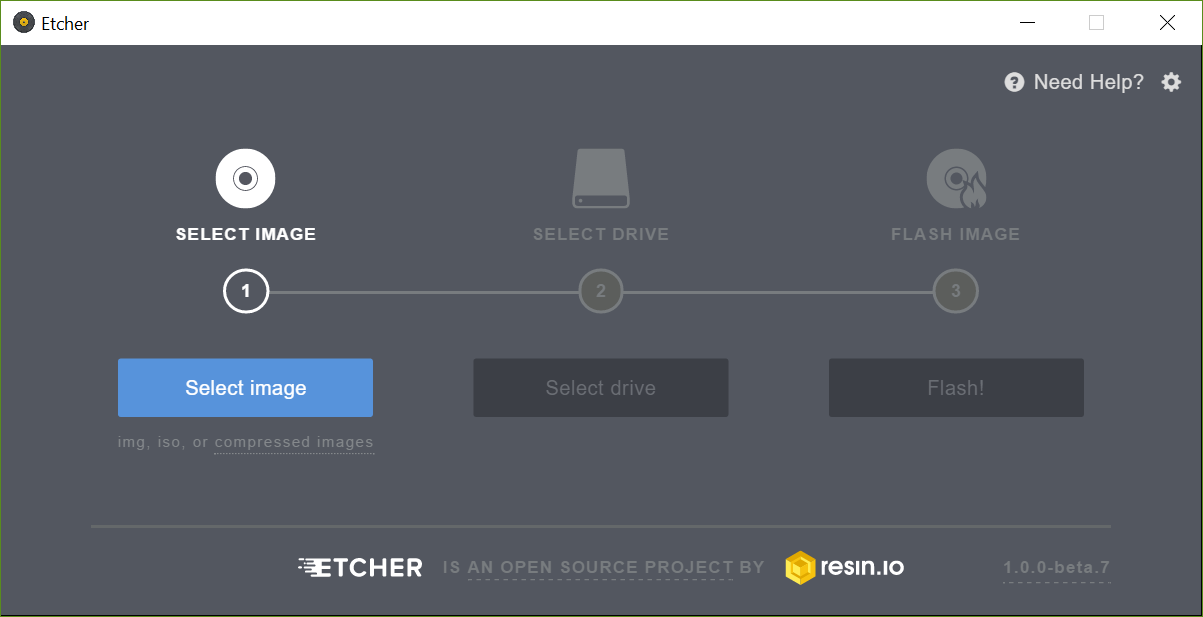 Etcher home screen
 -
Click the “Select image” button and browse to the folder where you downloaded an ev3dev release. Select the file that you downloaded. The release can be a
.img.zipor.img.xz; whichever you have will work with Etcher.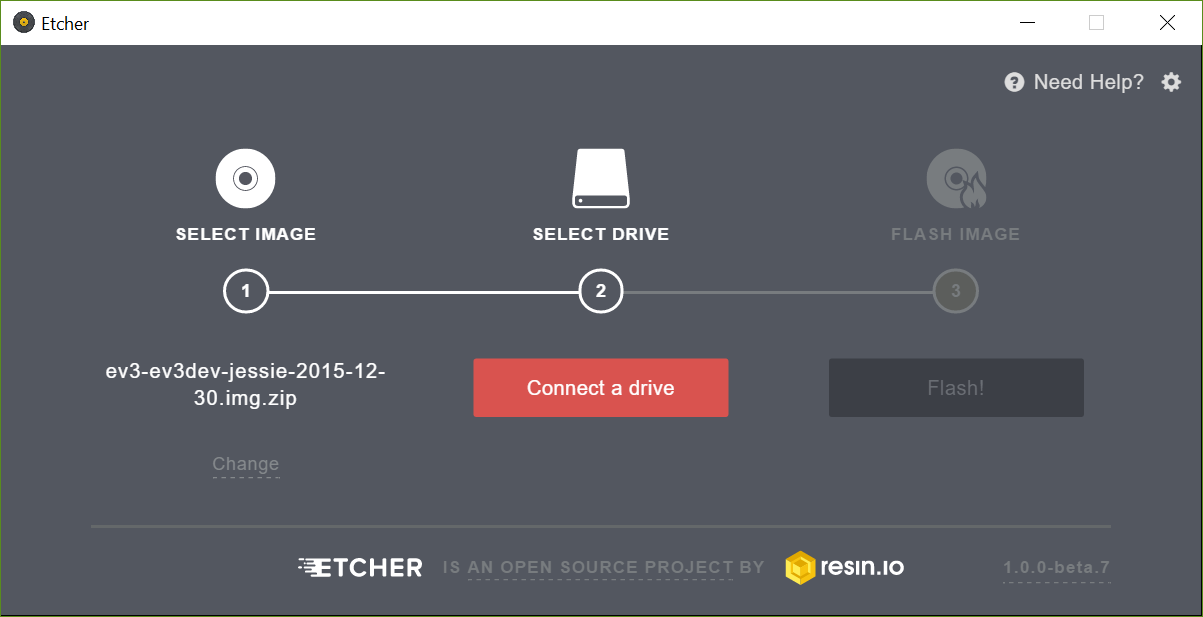 Image chosen in Etcher
 -
Plug the SD card into your PC (if your PC doesn’t have a micro SD slot, you can use an adapter or external reader). Etcher should detect the new device and display its information under the “Select drive” step. Confirm that the selected drive is correct.
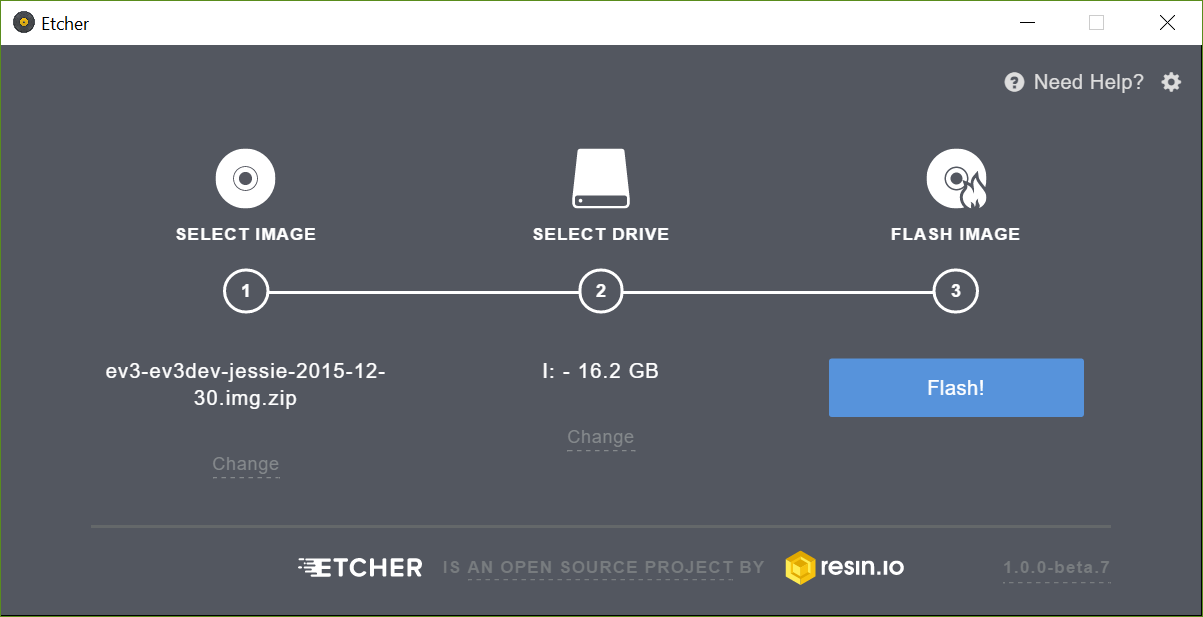 Drive selected in Etcher
 -
If you have multiple removable drives available, you may need to use the “Change” button to select the proper device.
-
When you are confident that you have selected the correct drive, click “Flash!” and wait for the operation to complete.
 Etcher flashing the SD card
 -
If you arrive at this screen, you have successfully flashed your SD card and are ready to move on to the next step.
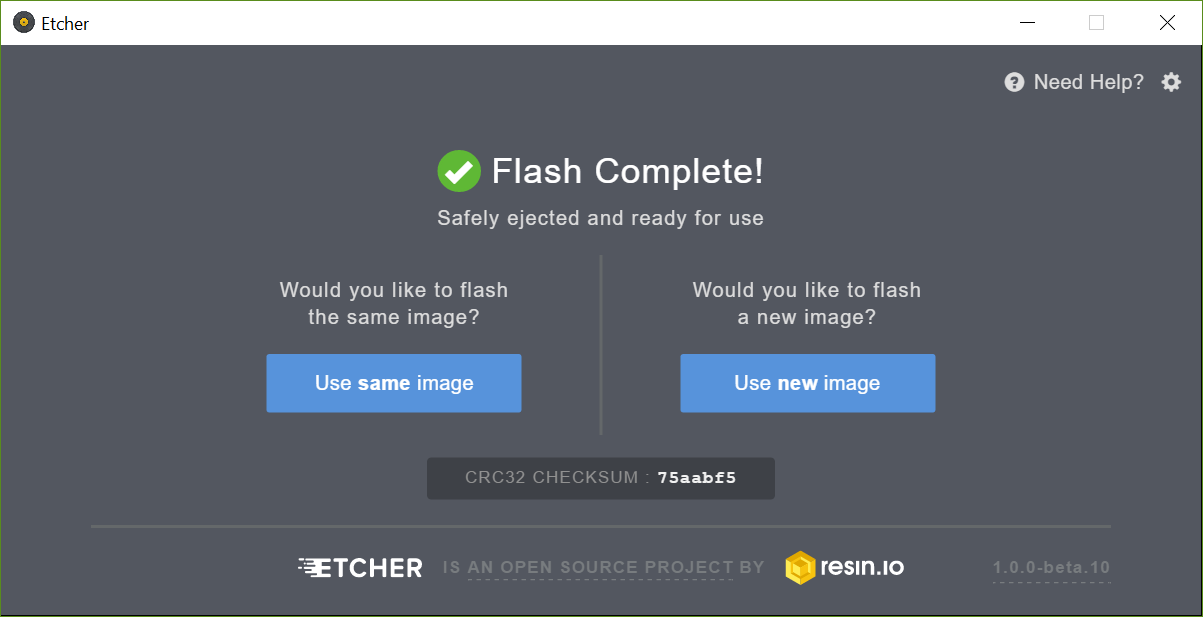 Etcher success screen
For more detailed information and flashing utility alternatives, check out our other tutorials. You can also check out this page for RaspberryPi. Much of the information there is applicable to ev3dev.